

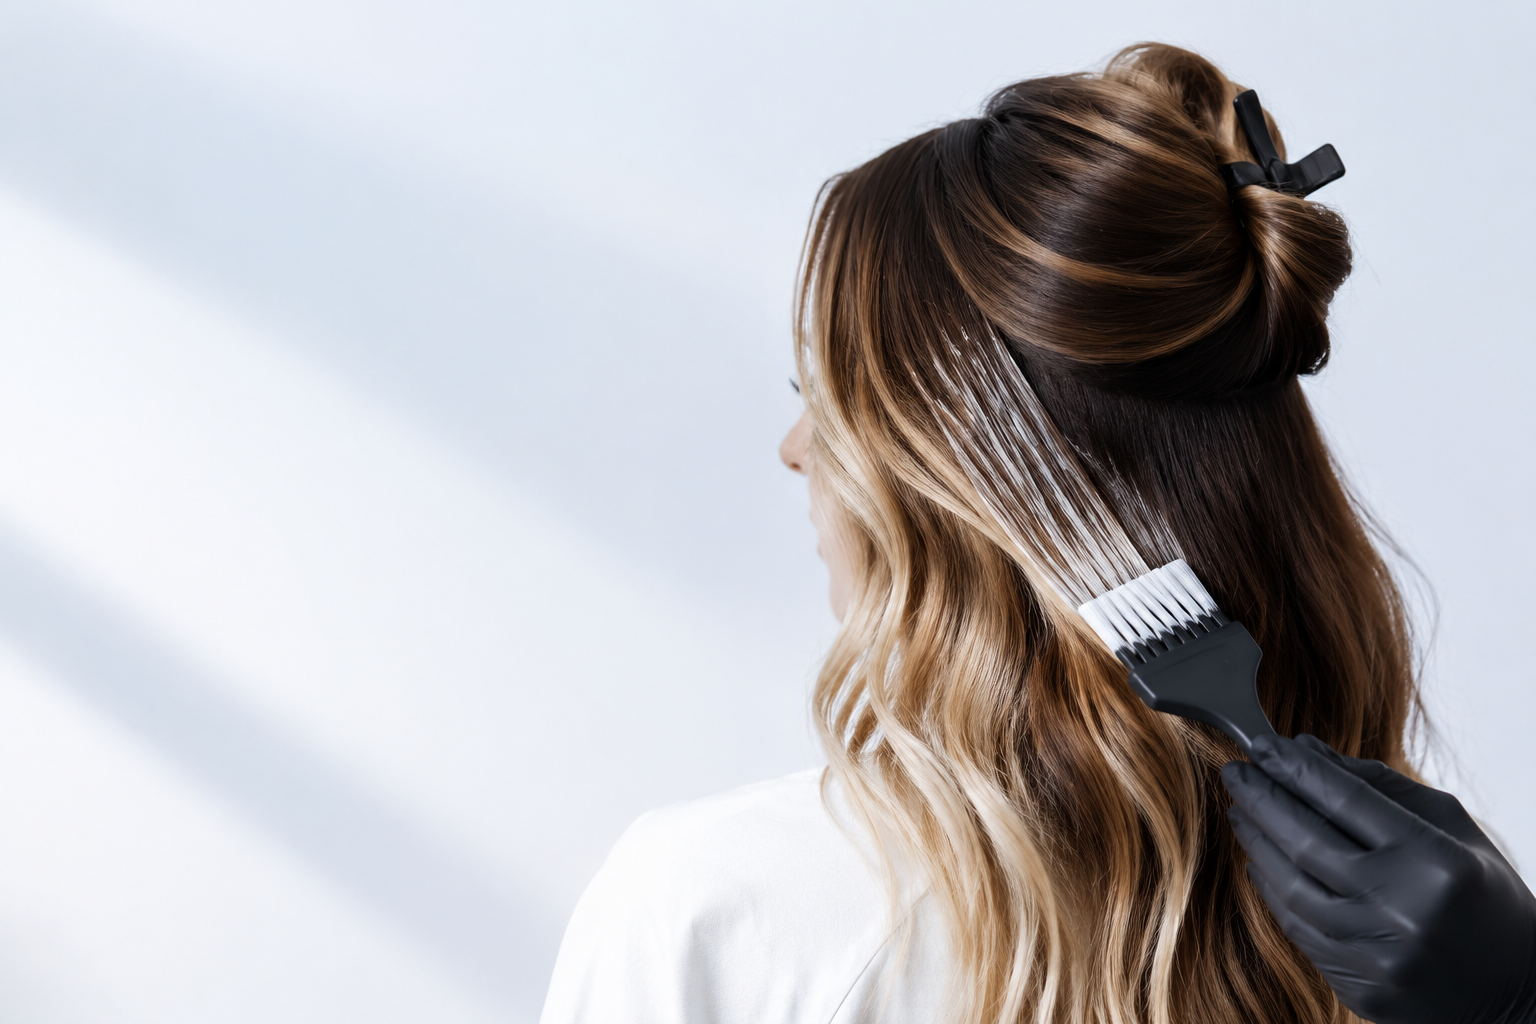
Want to create balayage at home? With the right tools and a little patience, you can get soft, natural-looking results without going to the salon.
This guide shows you how to balayage your hair at home step by step and avoid common mistakes.
What Is Balayage?
Balayage is a freehand hair coloring technique where lightener is painted onto the surface of the hair to create a soft, blended, natural-looking effect. Unlike traditional highlights, balayage does not usually rely on precise foil placement or uniform sections.
The result is a more lived-in look with softer grow-out and less obvious regrowth lines.
Depending on the style you want, balayage can be:
- Face-framing
- Soft and subtle
- Medium dimension
- Bold and bright
- Caramel, honey, or blonde-toned
For beginners, subtle balayage around the face and mid-lengths is the easiest and safest place to start.
What You'll Need
Before you begin, gather your supplies:
- Hair lightening kit or bleach kit
- Mixing bowl and tint brush
- Sectioning clips
- Tail comb
- Disposable gloves
- Old towel or cape
- Foil or plastic wrap (optional, for separating painted sections)
- Timer
- Wide-tooth comb
- Deep conditioner or hair mask
Having everything ready before you start will make the process much smoother.
Step 1: Choose the Right Shade
The most natural balayage results are usually only 1–3 shades lighter than your base color.
For example:
| Base Hair Color | Recommended Balayage Shade |
|---|---|
| Black | Soft brown or caramel |
| Dark Brown | Light brown or honey |
| Medium Brown | Golden blonde |
| Blonde | Beige blonde or champagne |
Avoid choosing a shade that is dramatically lighter than your natural hair unless you're comfortable using bleach and toning techniques.
Step 2: Section Your Hair
Divide your hair into four sections:
- Front left
- Front right
- Back left
- Back right
Secure each section with clips. Working in small sections helps you control where the lightener goes and creates a more even, blended result.
For balayage, you do not need perfectly uniform sections. The goal is a natural, hand-painted effect rather than a structured highlight pattern.
Step 3: Prepare the Hair for Painting
Before applying lightener, make sure your hair is dry and detangled.
Use a tail comb to separate the strands you want to lighten. Focus on:
- The mid-lengths
- The ends
- The pieces around your face
- The top layer for added brightness
Balayage usually starts lower on the hair shaft and becomes lighter toward the ends. This creates the soft gradient effect that makes balayage look so natural.
Step 4: Apply the Lightener
Using a tint brush, paint the lightener onto the surface of the hair in a sweeping motion.
A few tips:
- Start with thin, manageable sections.
- Apply more product toward the ends and less near the roots.
- Feather the product upward for a soft blend.
- Leave some strands untouched for a more natural finish.
If needed, place foil or plastic wrap between sections to keep the lightener from transferring to other strands.
Unlike traditional highlights, balayage is meant to look effortless and blended, so perfection is not the goal.
Step 5: Monitor the Processing Time
Follow the instructions included with your lightening kit carefully.
Check the hair every few minutes instead of leaving it unattended.
Avoid exceeding the recommended processing time, as over-processing can increase dryness, breakage, and uneven color.
If you want a softer result, rinse earlier. If you want more lift, continue checking until the desired shade is reached.
Step 6: Rinse
Once the desired lift has been achieved:
- Rinse thoroughly with lukewarm water.
- Shampoo gently if the product instructions recommend it.
- Follow with a moisturizing conditioner to help restore softness and hydration.
Step 7: Moisturize and Protect
Balayage can leave hair feeling drier because lightening removes moisture.
To keep your hair healthy:
- Wait 48–72 hours before shampooing again.
- Use a sulfate-free shampoo designed for color-treated hair.
- Apply a deep-conditioning mask once or twice a week.
- Use a heat protectant before styling.
- Limit excessive heat styling whenever possible.
Healthy aftercare helps your balayage stay shiny, soft, and vibrant for longer.For details, please click here: The correct way to dye your hair and important precautions.
Common Mistakes to Avoid
Even experienced DIY colorists can make mistakes. Here are a few to watch out for:
- Applying lightener too close to the roots.
- Using sections that are too thick.
- Creating harsh lines instead of soft blends.
- Leaving the lightener on for too long.
- Skipping a strand test before applying color.
- Forgetting to deep condition afterward.
Taking your time usually leads to better, more natural-looking results.
Frequently Asked Questions
Can I Balayage My Hair Without Bleach?
If your hair is already light blonde, you may be able to brighten it with high-lift color. However, darker hair generally requires a lightener to create visible balayage.
How Often Should I Touch Up Balayage?
Most people refresh their balayage every 8–12 weeks, depending on hair growth, color fade, and the desired look.
Can I Balayage Previously Colored Hair?
Yes, but previously colored hair may lift differently than natural hair. If your hair has been dyed multiple times or is already damaged, proceed cautiously and consider a strand test first.
Final Thoughts
Balayage at home is possible with the right tools and patience.
Start with subtle placement, follow the timing instructions, and care for your hair afterward to keep it healthy.


